So, you busted a tent pole, and now you’re in a bit of a pickle. But there’s no need to fret too much, fixing a broken tent pole is not only possible but actually quite straightforward.
If you’re out camping, don’t let a broken tent pole cut your trip short. If it’s just the shock cord that’s come loose or broken, you don’t really need to do anything.
Shock cord performs two tasks – it keeps all your pole sections together so you don’t lose them and it holds the entire pole assembly together making for easy thread through the pole sleeves or loops on your tent.
On the other hand, if you snap a pole, you’re likely to need to do a little emergency repair work at the campsite to keep your tent operational for the rest of the trip. This could be as simple as taking to the pole with a good serve of duct or gaffer tape or fitting a tent pole repair sleeve or ferrule.
When you get home, you’ll be able to replace the broken section or the entire pole.

It’s important to learn how to repair tent poles.
Why it’s important to carry spare parts for your tent
This brings me to something that is rarely considered when camping but should be. You should always carry some spare parts and a repair kit for your tent when you’re out bush.
You wouldn’t venture up Cape York or the Birdsville Track without a spare wheel for your 4WD, a repair kit for your air bed, spare batteries for your torch, or a couple of extra tent pegs.
But, every day, people head bush without so much as a tube of seam grip in their camping kit. Depending on your tent, it’s advisable to carry at least a couple of spare pole sections, a length of shock cord, and maybe a ferrule.
If you have a fast-pitch tent like a Coleman Instant Up, Black Wolf Turbo, or Fast Frame Tourer, consider carrying a spare knuckle and hub.

On an extended trip, spare parts are a must.
So, how do you fix a broken pole?
So, you’re home from your trip and have a broken pole to mend, or you’re still out there but have a pole section on hand, how do you fix it?
Keep in mind, this article is aimed at broken fibreglass tent poles. If you have aluminium poles, many of these steps will be relevant but try and avoid cutting sections – buy a section that directly matches your tent.
Also, many lightweight alloy poles have screw-in spigots at the end, with a hook into which the shock cord loops, making it easy to replace a section without replacing the cord.

You’ll need a few things to complete your repair.
Here are some tools and supplies you will need:
- Needle nose pliers/multi-tool
- Spare shock cord
- Spare pole section
- Tape (sticky, gaffer, or duct)
- Hacksaw
- File
- Wire for threading the cord (optional)

If you can’t source spares from the manufacturer, measure the poles to get the closest size.
Use the correct type of shock cord and pole section
Shock cord and pole sections come in different sizes. Try to match these to what was originally used for your tent. Typically, shock cord is available in 2mm, 3mm, 6mm, and 8mm.
Pole sections come in 6.9mm, 7.5mm, 7.9mm, 8.5mm, 9mm, 10mm, 11mm, 12.5mm. Ideally, buy spares from the same manufacturer as your tent and that look as close to the existing sections as possible.
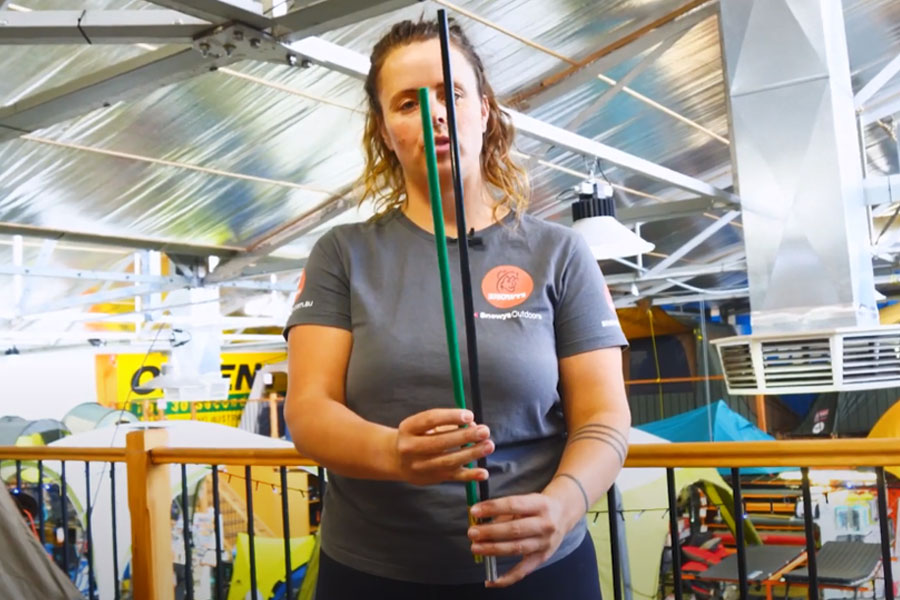
Now that you’ve got what you need to repair your pole, we’ve put together a video with a Snowys gear expert to demonstrate how to repair it, or you can read on for each step in detail below.
Watch above for a visual demonstration of how to repair a tent pole.
Here’s how to replace a broken section of pole and shock cord:
1. Cut off the knot at the end of the shock cord
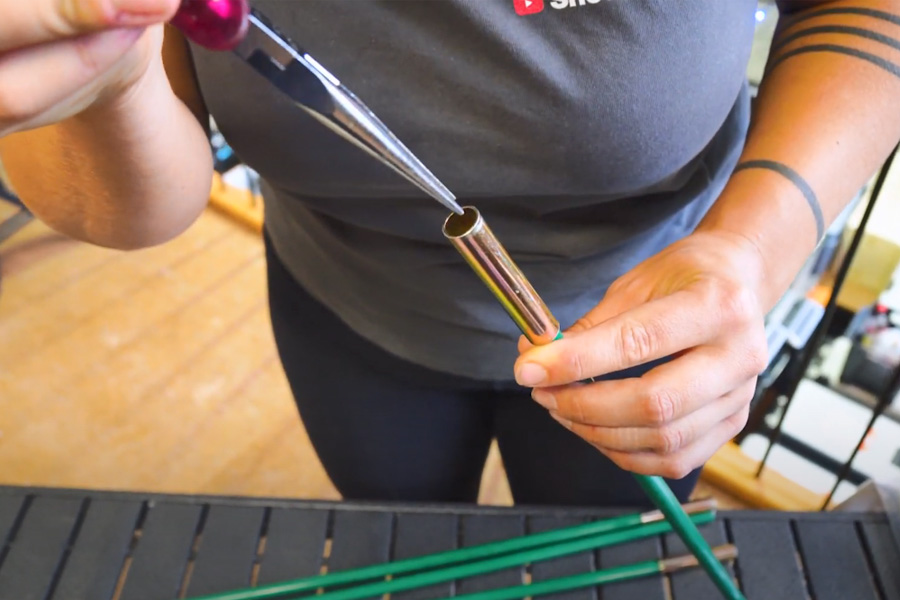
It’s unlikely you’ll be able to unpick it. You may need to use some needle nose pliers to fish the knot out the end of the pole.
You have the option of just replacing the broken section and keeping the existing cord if it remains intact. If you are replacing the entire shock cord, keep in mind it is stretchy and when your pole assembly is set up, it will be under tension. You’ll need a length of cord that is roughly 75% the length of the assembled pole. Keep this in mind when purchasing your cord.

Remove the shock cord using the pliers.
2. Unthread the shock cord
But make sure you don’t lose track of the sequence of poles – some poles feature different sized and shaped sections.
3. Remove the broken section and prepare your new one
Compare the original damaged pole to the spare pole from your repair kit and mark the correct length using the tape, then carefully cut through the pole using a hack saw.

The broken section acts as a guide when you cut it.
4. File the ends of the pole
File the end down to remove any rough edges – a jagged end could fray your shock cord meaning another repair.

Smooth down the edges with a file.
5. Time to replace the shock cord
Tie a knot or two at the end of the cord but leave a nice long tail/tag, this will make it easy to fish out the end of the pole next time.
Make sure the other end of the cord is nice and clean and free of fraying. If it’s a bit messy, snip a little off the end with a sharp knife or scissors, or heat the end with a lighter and shape a point, or you can use some tape. This will make it easier to thread through the poles.

Wrap some tape around the end to make it easier to thread.
Some tutorials suggest using a metal rod or piece of wire to help thread the cord through the poles. This can be helpful but isn’t necessary. Most shock cord has a degree of stiffness to it so once you’ve started, it will thread through rather easily. Let gravity help you too – hold the pole sections vertically and feed down.

Now, thread the cord through.
Once you have started, the cord will almost trickle down the rest of the way. If you don’t have an excess of shock cord, you can tension as you go by doubling some cord back each section and tapping it to the shaft of the pole.
That way, by the time you get to the last section of pole, you’ll have enough slack to work with. By doing this to the final section too, it’ll make tying that final knot easier.

Voilà! Your tent will be ready for adventure again!
5. Undo the tape, double check the tension, and you’re done!
Cut off any excess cord, remembering to leave a bit of a tag.
See, it wasn’t so difficult, was it? Remember, always carry some spare tent parts when you’re out and about. It could mean the difference between a ripper camping trip and one cut short.
Do you carry spare parts for your tent when you camp? If so, which parts?
Hiker, bushwalker, tramper and founder of Ottie Merino (ottie.com.au). Let’s just say Paul likes to get around by foot. When he’s not, it’s usually by bike. He’s usually found knocking out another section of the Heysen Trail, or hut bagging his way around the South Island of New Zealand.
Brilliant care guide! Your comprehensive tips on cleaning, repair, and storage provide a one-stop solution for ensuring a tent’s longevity. A must-read for every camper committed to preserving their gear. Thanks for the valuable insights!
https://campinggears.ph/food-storage-tips-for-camping-trips/
We’re glad you think so! Thanks for the feedback
Brilliant care guide! Your comprehensive tips on cleaning, repair, and storage provide a one-stop solution for ensuring a tent’s longevity. A must-read for every camper committed to preserving their gear. Thanks for the valuable insights!
https://campinggears.ph/food-storage-tips-for-camping-trips/
This instruction is fine but my broken fiberglass section is at the end, with the tapered ferrule (inserts into the grommet at the peg) that’s glued on.
We have had issues with shock poles splintering two years in a row now. We always carry gorilla tape (better than duct tape in our opinion). We also keep all of those annoying worthless little bent aluminum tent pegs that wont keep anything tethered to the ground (straighten them out or cut off the bend and dip in grip dip). These aluminum pegs and gorilla tape will make a pretty good temp field repair of a broken, cracked or splintered fiberglass shock pole. We camp for a month at a time in tents and are considering a preemptive wrapping of all shock pole sections with gorilla tape.
The gorilla tape is a good idea, I am assuming you mean cloth tape. 40 years ago it was called friction tape.
I bought a 2.1 x 2.1 x 1.35 High easy up tent recently, (frame is part of the tent, so no shock chord or ferrules, just folding joints). The poles seem to be made out of a type of nylon, and although flexible, is very strong.
Maybe, look for poles in a similar material or replace the poles with aluminium. My experience of fibreglass poles is not great, so try the friction tape, at least there is a chance of not having repairs to do on the trip